SHARE
How Flatirons Fuse Delivers Front-end Validation


One of the key issues facing CSV importers typically built by in-house development teams is clear validation on the front-end. Customers are often left with vague errors offering little insight into why their CSV or spreadsheet import failed.
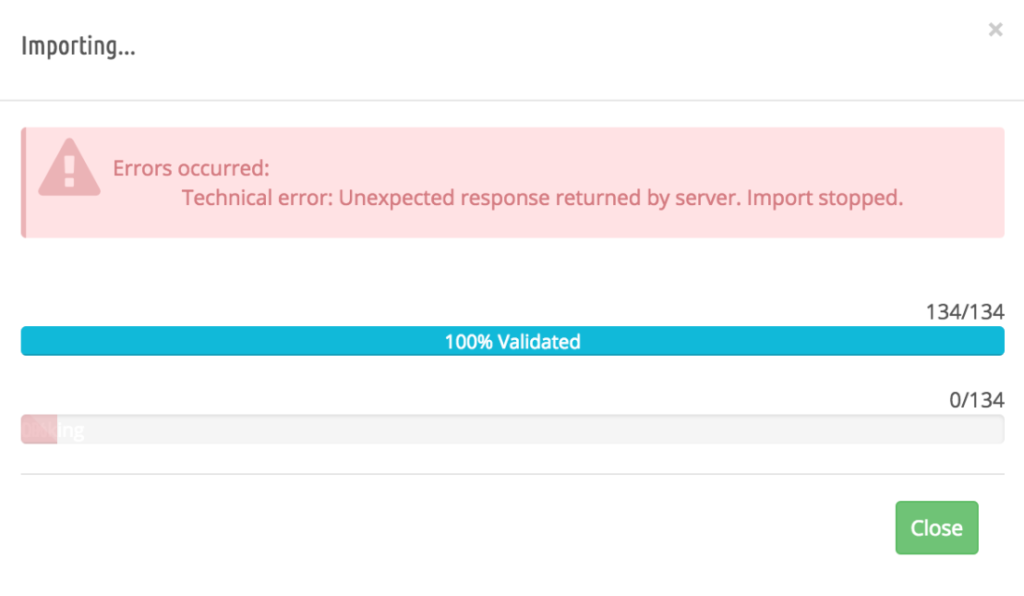
The developers may have clues as to what went wrong based on reviewing logs and troubleshooting techniques, but the customer is frustrated to have to contact support to resolve issues that the user could fix themselves if the problem was clearly communicated initially. This is where validation, (front or back-end) comes in. It offers the user clear indications of where the problem is, and ideally, how to solve it.
But how do we do it?
Initializations and Hooks
Our front-end validations kick into play when you first attempt to submit the data you are attempting to migrate into the target system. Rather than simply telling you that the import failed, it will tell you any known issues that will prevent the import from working. The most basic and commonly used validation is email. If you select Email as a data type in the columns of your template, our system recognizes if the data in that field does not correspond to the standard email configuration (it recognizes if there is no @ symbol or does not end in .com). This is done via initializations and hooks. This example is included and requires no configuration on our customers’ part.
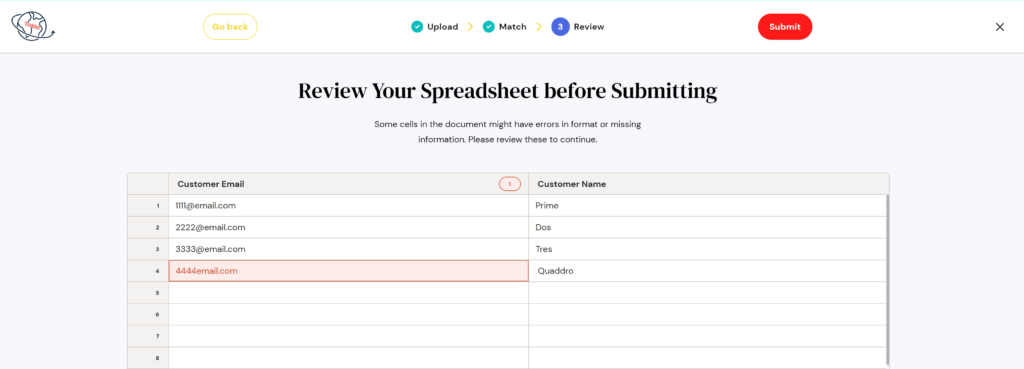
The below hooks and initializations produce similar validations to the above, tailored to your specified requirements. As you can see, the error is easily seen and dealt with prior to upload.
Let’s look at how this type of validation is done. Our system makes use of initializations and hooks. The initialization does exactly what it says – initializing your embedded data importer. It requires the organization ID, and the template ID to initialize.
Once initialized, functions and hooks are used to deliver the desired validation. The show function launches the importer, provided it is properly initialized.
Next, we have several basic types of hooks that can be triggered for validations.
OnValidateRecord (record)
This hook is called upon by each record (row) in a customer’s CSV or spreadsheet import. In it, you can specify custom front-end validations and display error messages in the importer that the user is then able to identify and fix (This is the hook used to bring attention to email addresses in the example above). When you create a Template, each column contains an internal key. These internal keys represent the following return values:
- If there is no error, the expected return should be an empty value (no change necessary)
- If there is a validation error within the record, you can specify the error as shown below:
As you can guess in the example above, the validation here is looking for only Gmail email addresses. In the ‘if’ line, we see the condition set that the record must include Gmail. Then in the line below, we see that an error message is specified to be shown to the user: “Email must be from Gmail”. By extrapolating, you can see how this would be used to validate general emails as discussed in the introduction – a couple of conditional lines to ensure that the @ symbol is present, as well as .com. The error message specified might be “You have email entries that are incorrectly formatted.” This type of validation is great for conditions in which there are multiple possible options to fix the record, but when you cannot risk overwriting an outcome. For example, if as shown in the above example an email address is not a Gmail address, the system would not necessarily be correcting anything by simply overwriting the company name or other suffix used for the email. It is up to the user to determine the best course of action.
FormatRecord(record)
The formatRecord hook is used in situations where you want to save the customer some effort and format data automatically for them. For example, if you have a field called first_name, and you know that your system always requires the first_name to be capitalized, you can call on this hook to format the first letter automatically.
The above code states that if the type of data in the record is a string entry, and is named first_name, the character at 0 (the first character) will be changed to uppercase. This type of code can be used to capitalize letters automatically or to ensure state abbreviations are capitalized, or in any situation where a simple and always necessary format change can be applied.
Meeting Your Needs
The above hooks can be modified to fit your use case, either formatting necessary records automatically or providing front-end validations before submitting your CSV or spreadsheet to the target system. With only a few lines of code for each data transformation or validation, you can ensure that the transformation and loading portion of the ETL (Extract, Transform, Load) process is seamless for your clients. If you need help in configuring your unique requirements, we at Flatirons Fuse are here to help.
Professional CSV Import Solution
Flatirons Fuse is an enterprise-grade, embeddable CSV import solution.
Get the CEO's Take
Handpicked tech insights and trends from our CEO.
Professional CSV Import Solution
Flatirons Fuse is an enterprise-grade, embeddable CSV import solution.
Get the CEO's Take
Handpicked tech insights and trends from our CEO.


Digital Product Development: Enhance Your Business Offerings
Flatirons
Sep 12, 2025

React SEO: Optimize Your React Apps for Search Engines
Flatirons
Sep 07, 2025

Will Software Engineers Be Replaced by AI?
Flatirons
Aug 31, 2025

Best Data Analytics Strategy for Business Growth
Flatirons
Aug 25, 2025

Ruby Case Statement: A Simplified Approach to Conditional Logic
Flatirons
Aug 19, 2025

Team Augmentation: Enhance Your Workforce Capabilities
Flatirons
Aug 13, 2025
